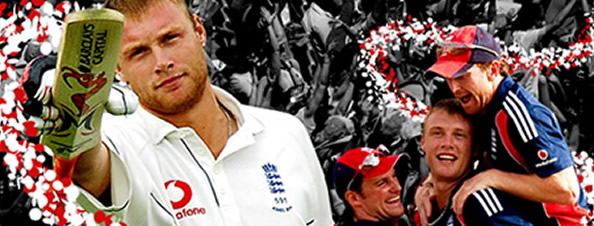
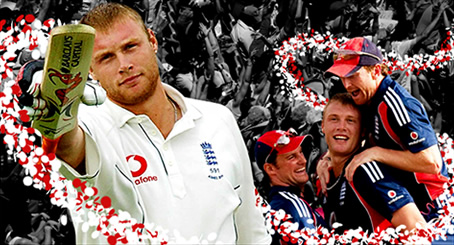
It’s tutorial time, we will be looking at creating a nice little sports graphic (finished image below) although the methods used can be applied to many other settings and scenes. We will be using Photoshop to create the image (sorry Fireworks fans) so without further ado, here we go…
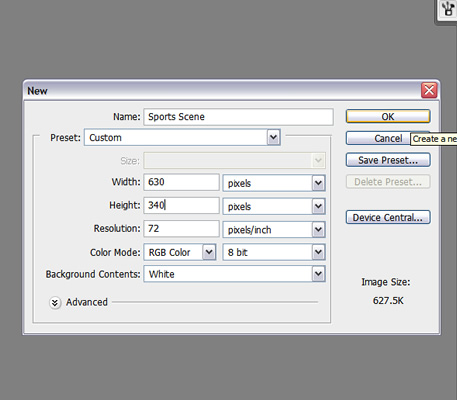
1. Open Photoshop and create a canvas 630px by 340px
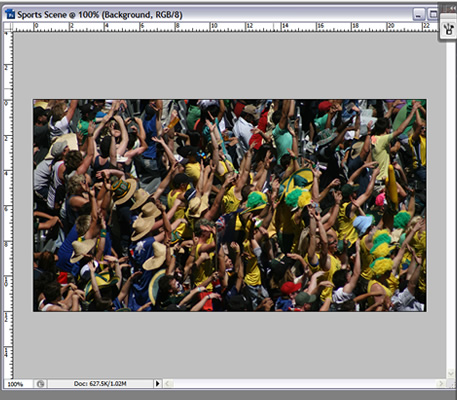
2. Find a large picture that will make a suitable setting for a sports background such as fans waving or some nice stadium imagery.
Seeing as though it’s the ashes soon, let’s use cricket as an example.
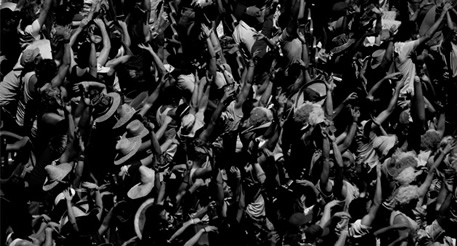
I’ve found a nice high quality image of a cricket crowd cheering which I’ll use as my background, insert it onto your canvas using good old ‘copy and paste’ or alternatively save it to your desktop and import it in using ‘File > Place’.
3. OK, so we have our background on the canvas but it’s a little too bright to use as a background and may distract from our main image we are going to use. So, lets make it black and white so it distracts the eye a little less.
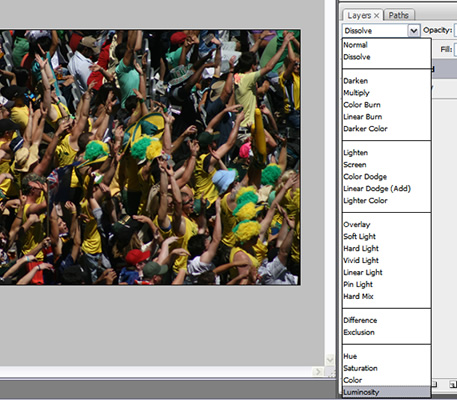
There are several ways of doing this but I prefer to change the Layer style to ‘Luminosity’ like so:
This will change your image to black and white:
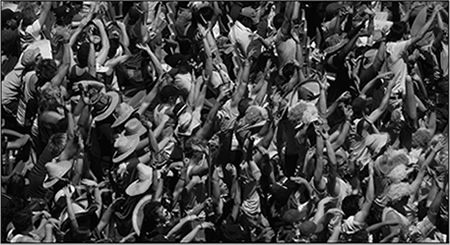
4. This looks better but it’s not sharp enough, so let’s take a look at editing the levels on this to make it a little sharper.
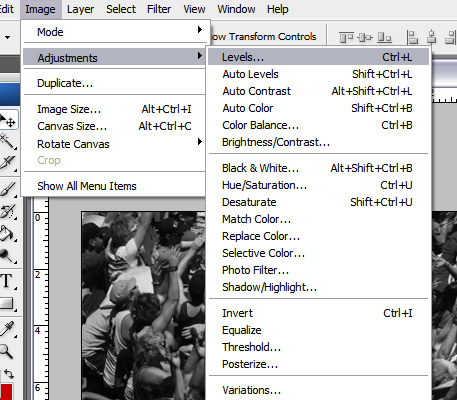
Make sure your image layer is selected and click ‘Image > Adjustments > Levels…’
This will open up your levels options, change them to the levels in the screenshot below (or until you find something you think looks good):
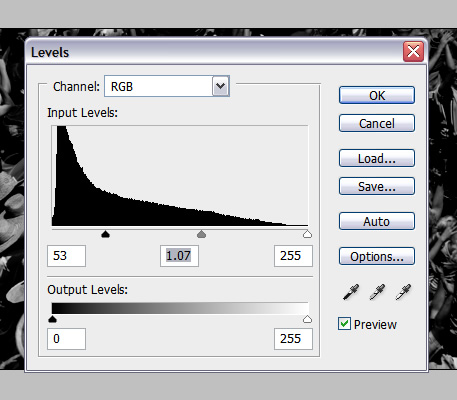
This makes the image a little more saturated and will help the foreground image we use stand out.
5. Let’s use an image of the England cricketer Andrew Flintoff for our main image:
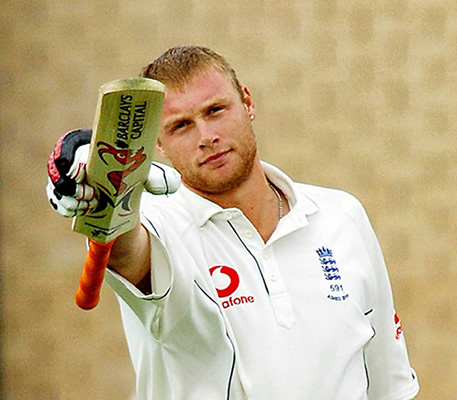
We need to cut around the image. A lot of people use the pen tool but I prefer to use the polygonal lasso tool then fine tune with the rubber tool. Don’t worry about being accurate to the pixel, we can round corners off etc once we have the image cut out.
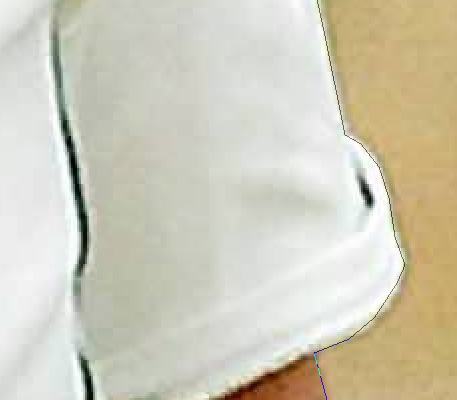
You should be left with something resembling this:
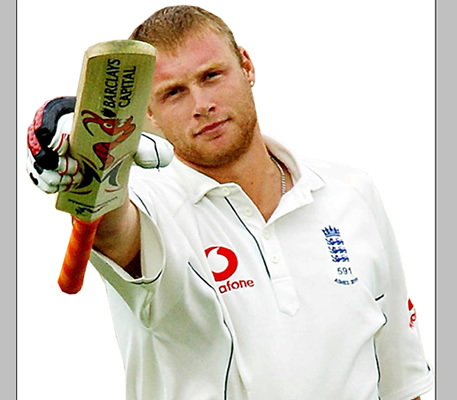
6. Now we have our image roughly cut out, lets tidy it up by rounding off corners and making sure there aren’t any jagged edges etc.
Select your rubber tool and begin going around the image making sure there are no traces of the background we’ve cut out. I usually make the background layer a garish colour to make sure I can see the sides of the light image clearly like so:
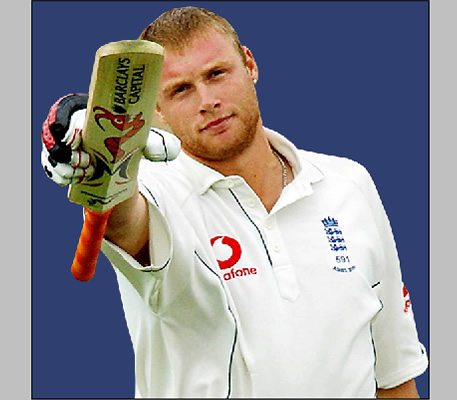
Once you’ve tidied your image up, you may also want to go around the players hairline with the faded rubber tool to smooth the edges of the hair off.
Once complete you should be left with something like this:
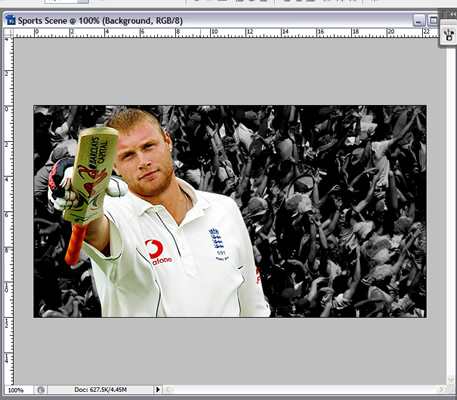
You may also want to modify the levels on this image to make it that little bit sharper.
7. We still have a lot of space left on our Sports Scene so let’s try and find a suitable image to use as a secondary image.
We’ve found a nice little image of Flintoff celebrating with his team mates, so let’s use this.
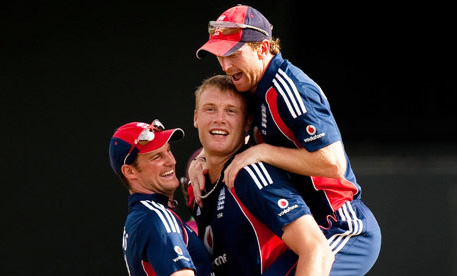
Cut out the image in the same way we did to the main image, remembering to fade any hair off slightly.
You should be left with something like this:
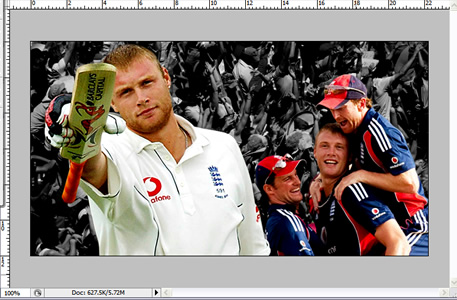
8. So now we have all of our images on the canvas and our sports scene is beginning to take shape but we need to add a little more to make the scene really stand out.
Let’s add a nice confetti effect using a modified Photoshop brush tool. Firstly, we need to add three new layers, one to go above, inbetween and below the images we just created, like so:
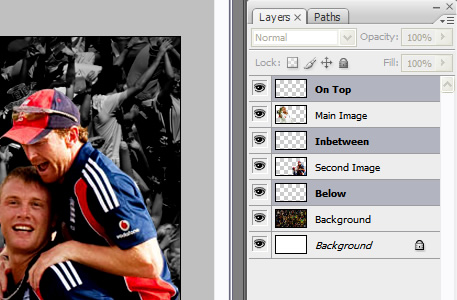
Highlight the top layer and then select your brush tool. You may have the brush presets tool already open, if not go to Window > Brushes and your brush presets window should open like so:
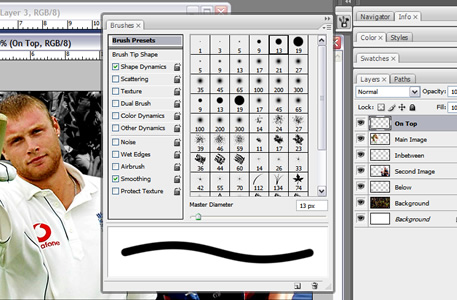
Select the ‘Hard Round’ brush like the one selected in the image above, let’s use 13 for now but we intend to change the size for each layer so don’t worry too much about size right now.
We now want to go into the various shape dynamics, scattering options and try to get our brush resembling a confetti stream. I’ve changed the spacing to 27% on the ‘Brush Tip Shape’ section, while you can see what else I’ve changed in the screens below:
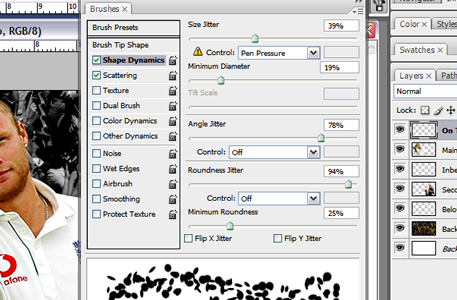
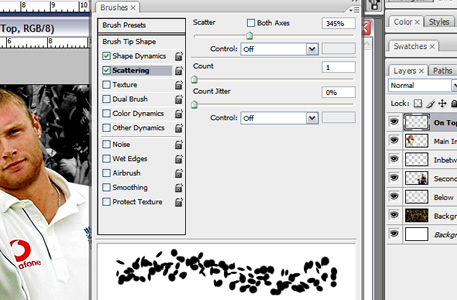
You should now be left with a brush slightly resembling a confetti stream which we can use to make our image stand out a little more.
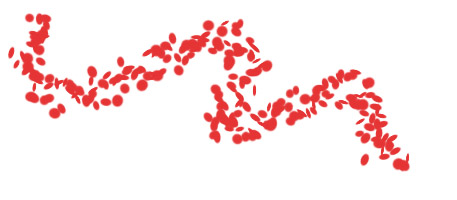
9. Now we have our brush, let’s apply it to our image. We are going to use it to give the effect of the image being layered so we are going to make it go above and around the main image, then above and around the second one before tailing off into the distance.
Select your top layer, make your brush 15px and select a colour from the colour picker (we’ve used white and red seeing as though it’s for an England player).
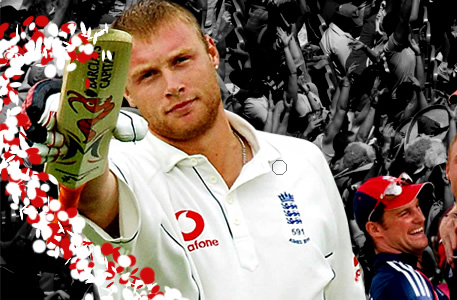
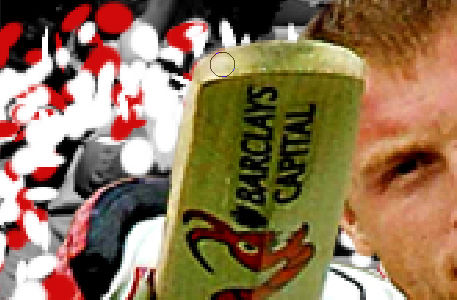
As you can see we’ve gone over the top of the bat, but don’t worry about that as we can tidy up the edges later.
10. Now select your ‘Inbetween’ layer and do the same, going behind the main image and above the secondary image but this time change your brush size to 11px to give the impression of the brush being further away, like so:
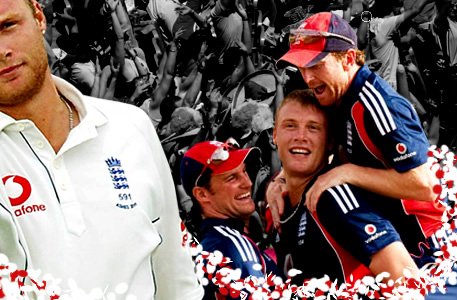
Repeat again with the bottom layer and lets reduce our brush to 7px and have it tailing off the canvas.
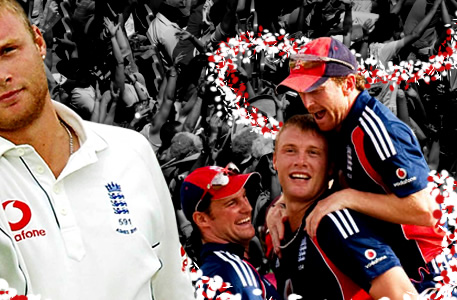
We’ve now got our confetti streams finished but let’s go back and tidy up the layers were the confetti goes over the main image. Use your rubber tool to remove any confetti that comes over the top of the brush to give the effect of it disappearing behind the main image.
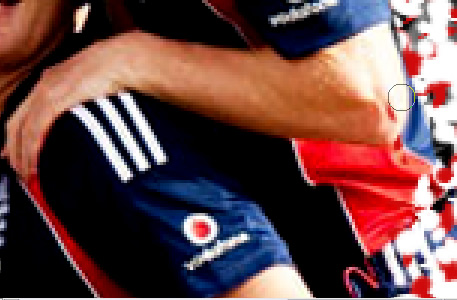
Repeat this with the secondary image:
That now gives us our finished image, you can of course add some little effects to give it your own personal touch such as blending options etc.